It looks like nothing was found at this location. Maybe try one of the links below or a search?
Sony and Minolta SLR Weblog
Sony and Minolta SLR Weblog
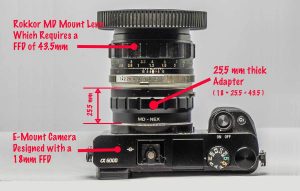
 Understanding Flange Focal Distance and Lens Adapters
  No longer an Underdog, Sony cameras and lenses win multiple categories at TIPA 2022 World Awards
  Mirrorless vs dSLR Cameras in poor Light: the EVIL avantage
  MC Rokkor 58mm f/1.4 Sample Images
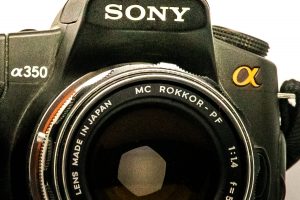
 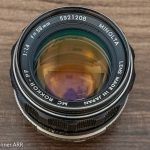 Old Glass: The Rokkor 58mm f/1.4 Prime Lens. Star Performer.
 It looks like nothing was found at this location. Maybe try one of the links below or a search?