


If you haven’t used Adobe’s brand-new Enhance feature yet, I urge you to give it a try. Available in both Lightroom and the Camera Raw plugin in Photoshop, the command uses computer intelligence to boost the overall resolution of an image. When Super Resolution is enabled, Enhance can double the resolution of an image, while retaining sharpness and detail. Enhance analyzes a photo and inserts custom pixels that closely match the shapes and colors in the original image.
You can also turn Super Resolution off. When Super Resolution is disabled, Adobe refers to the menu item’s action as Raw Details. In this mode, the image remains the same size, but Adobe claims Raw Details provides “more accurate renditions of edges, improves color rendering, and also reduces artifacts.”
Sound good? You won’t want to use it on every image, but it really helps when you want to enlarge an image or magnify a cropped area to a decent size.
Getting Started with the Enhance feature
I find Enhance works best on clear photos with fine detail. Before applying Enhance, I perform all my color correction and image manipulation first. The one exception is sharpening. I think it is better to implement sharpening on the photo after it has been enlarged.
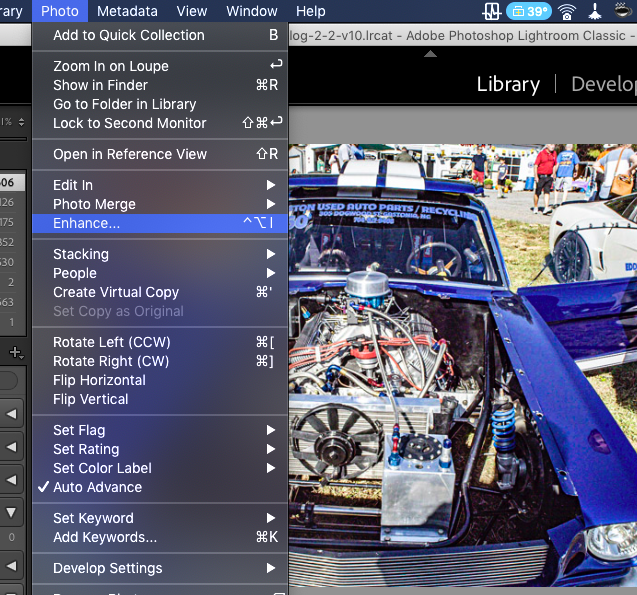
Once you have the photo looking the way you want, click on the Enhance menu, as shown in the top photo.
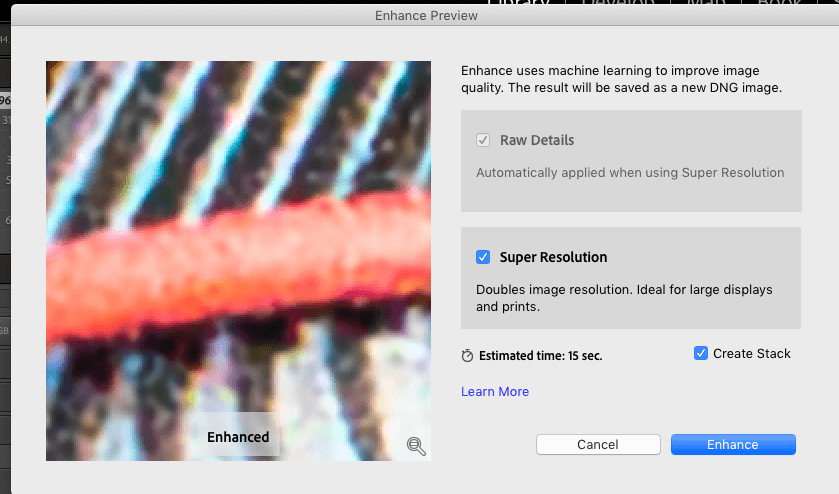
The Enhance Dialog
A dialog box will appear with a highly magnified section of the image. Here is where you decide if you want to implement Super Resolution or just Raw Details. The Raw Details enhancement is always applied when you select Super Resolution. Clicking on the magnified section will display the magnified area without enhancement. Moving the cursor off the area will show how it will look with Enhancement.
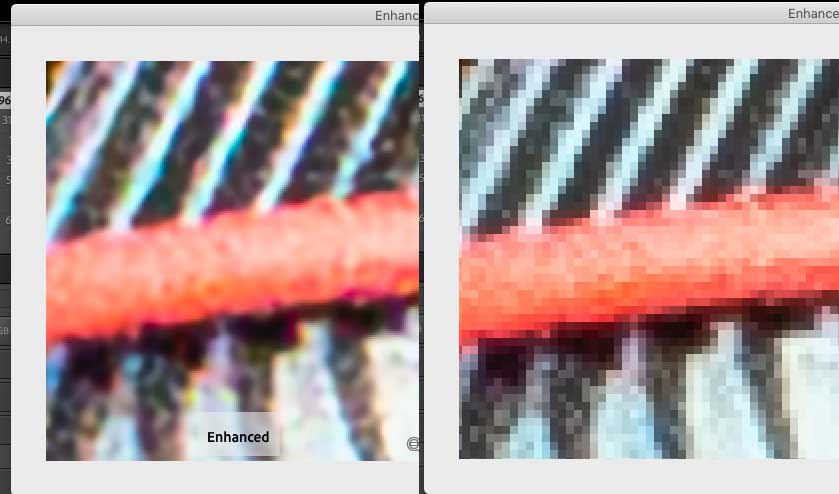
Above you can see the area with Enhanced applied (left) and without. (right). Because of the great magnification, neither area looks wonderful, but you can clearly see the wire and the fins on the valve cover are much sharper on the left. The fin edges in the original image have jagged stairsteps, and the orange wire is blotchy and rough. When the image is rendered at a normal size, it is obvious the Enhanced version will look sharper and offer superior definition.
Real-World Super Resolution

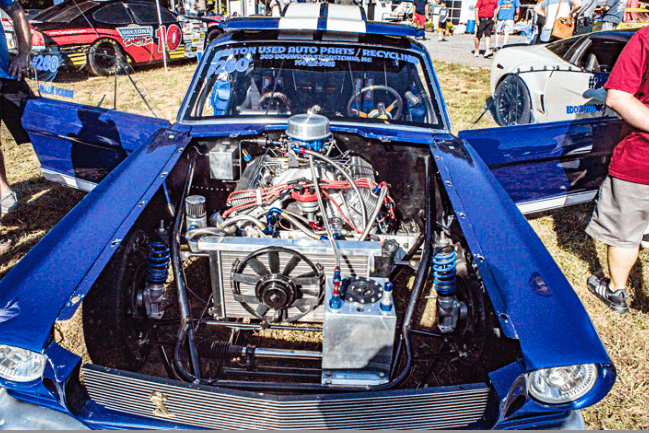
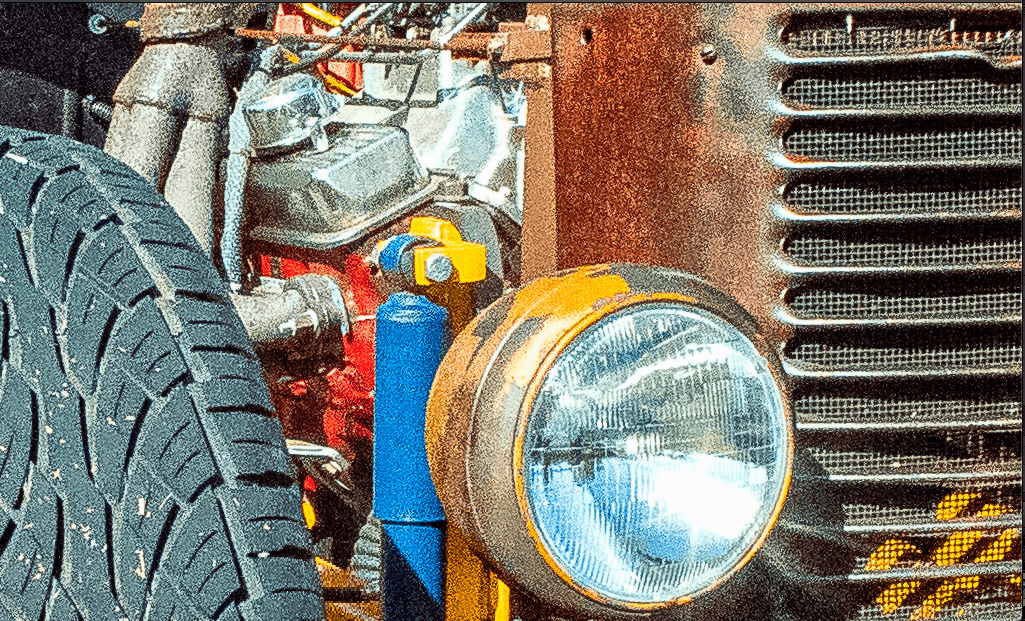
To give you an idea of a real-world application of the Super Detail feature, I selected this photo of a “rat rod.” Display sizes vary, so you may not notice much difference when viewing the following photos on phones or other small screens. To appreciate how well Enhance works, you should view the following three photos on a large screen.
After color correction and slight straightening, the original photo weighed in at 11.2 megabytes. In order to display the full image here, I reduced the dimensions so it would fit the basic template.
The first image below reveals a cropped portion of the image at 100 percent actual size. It looks fairly sharp, but there is some visible noise. To create the very best image, I probably would use software to reduce or eliminate the noise before proceeding. Still, when examing the image from a decent distance the noise isn’t very apparent.
The Magic of Super Resolution
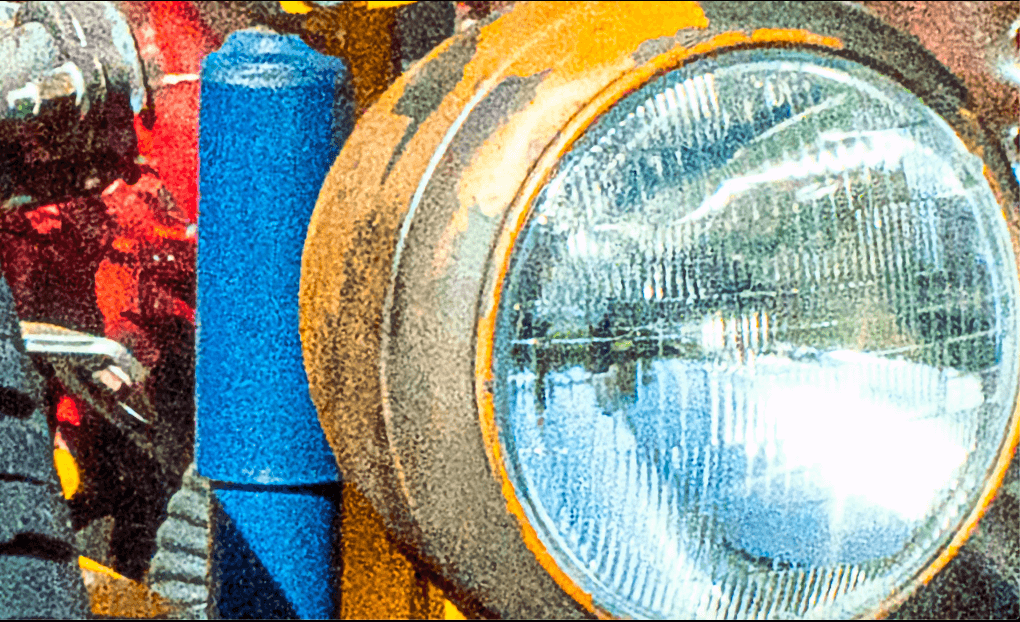
The second image is a sample after applying Super Resolution. Obviously, it is much larger, and the noise has been magnified. But it is still sharp, and I am confident I could use noise reduction software to make the image look great. After applying Enhance, the second photo weighs in at 30.3MB; nearly three times the original.
For the third and final image, I took the original image and simply enlarged it in Photoshop to be the same dimensions as the Super Resolution image. Compared to the Enhanced image, this is a true mess. The noise is rampant and likely couldn’t be corrected without inducing horrible blurring. Notice the ragged edge on the blue shock absorber. Even without applying noise reduction, you can clearly see that the enlarged image is noticeably softer than the enhanced one.

Original and Super Resolution Comparison
Original Image
Dimensions: 3610×2411
240dpi
Image Size: 11.2MB
Super Resolution
Dimensions: 7219×4822
240dpi
Image Size: 30.3MB
Where will you use Raw Details and Super Resolution?
I will use the Enhance command in two instances. The first is when I need to make large, oversize prints. Enhancing an image can allow you to print photos at a much larger size without losing detail.
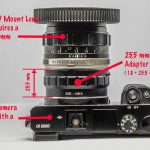
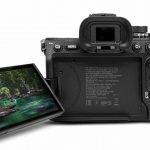
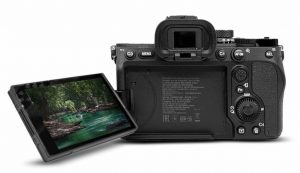
Secondly, there are times when I simply need a higher-resolution photo. My Sony A7s only has a 12MB sensor. That is the reason it is so good in dim light and why it can produce usable images at extremely high ISO settings. Most of the time, 12MB is sufficient for my needs. Still, there are instances where there is no substitute for more resolution, particularly in cases where I want to use a small cropped subset of an image. I’m not sure using Super Resolution will allow my A7s to compete against cameras with 48MB chips, but it definitely levels the playing field.
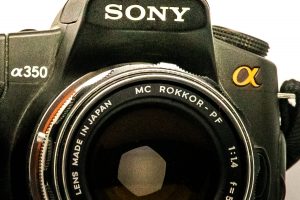
I also have hundreds of older photos taken with cameras equipped with even smaller sensors. My old Minolta DiMage 5 only packed a 3.3MB sensor! And lets not even talk about cell phone images, many of which were captured with six and eight megabit sensors. I can’t go back and reshoot old images with more modern cameras, but the Enhance feature allows me to convert my old photos into higher-res photos.
Results can be Hit or Miss
Having said all that, I have to admit that the Enhance feature doesn’t work on all images. On some photos, particularly those that aren’t razor sharp, I did not see much improvement. Strangely, some softer images did look better after using Enhance, while others didn’t. As of yet, I can’t reliably predict which images will respond well to Enhance. It is hit or miss, but fortunately there are more hits than misses.
As the name implies, Raw Details can only be applied to RAW files. There are some other limitations. Adobe specifically notes that Raw Details does not work with Sony pixel-shift ARQ files.
While Raw Details is automatically applied whenever Super Resolution is applied, I have successfully increased the resolution of many different non-raw files, including JPEG, PNG, and DNG files. In most cases, the resulting higher resolution files seemed more detailed than those created by simply enlarging the file.
If you have never tried the Enhance feature, run it on some of your favorite photos. You might just fall in love with certain images after they have been Enhanced, and it just might save your tail when trying to achieve the best results from a low-res image.
#Super Resolution
#Camera
#Adobe Lightroom
If you want to learn more about Enhance, Raw Details and Super Resolution, check out this Photoshop User Guide article.
Adobe also provides a Super Resolution Tutorial.

More Stories
Is Film better than Digital?
Free Dust and Scratch Removal software saves your scans
Beta Picasa for Macintosh only runs on Intel Macs