
6 min read
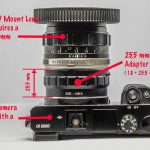
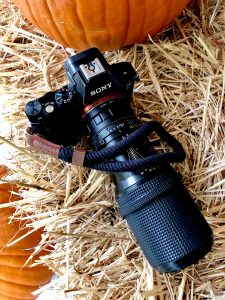
Understanding Flange Focal Distance. What is Flange Focal Distance? The simple textbook answer is FFD represents the distance from the...
Sony and Minolta SLR Weblog
 Understanding Flange Focal Distance and Lens Adapters
  No longer an Underdog, Sony cameras and lenses win multiple categories at TIPA 2022 World Awards
 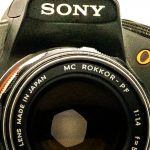 Mirrorless vs dSLR Cameras in poor Light: the EVIL avantage
  MC Rokkor 58mm f/1.4 Sample Images
  Old Glass: The Rokkor 58mm f/1.4 Prime Lens. Star Performer.
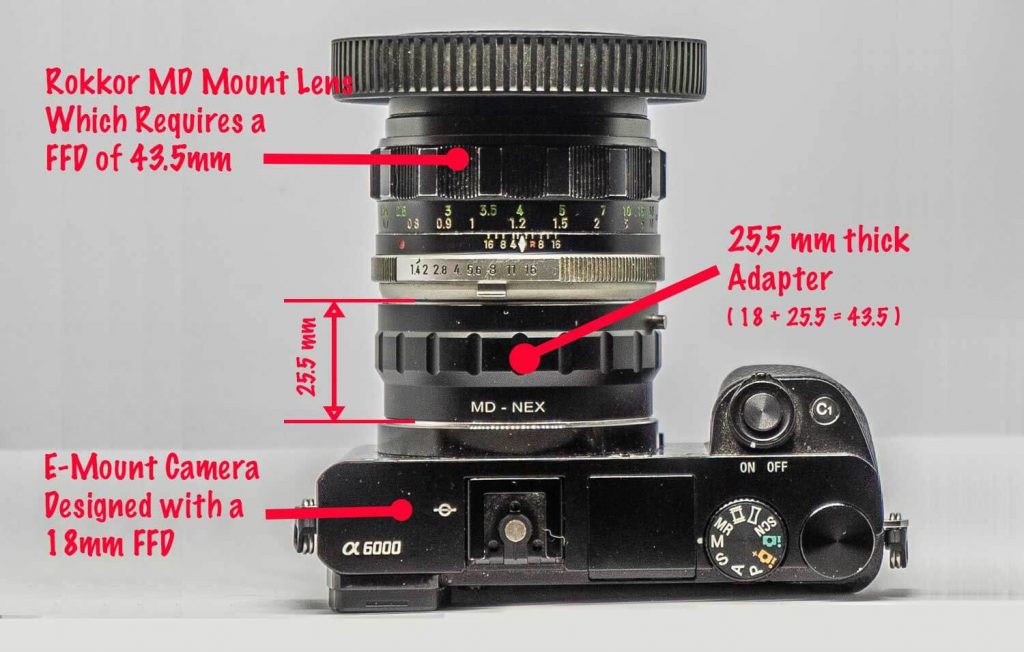

Understanding Flange Focal Distance. What is Flange Focal Distance? The simple textbook answer is FFD represents the distance from the...
The Technical Image Press Association, otherwise known as TIPA, has just released its list of 2022 award winners. TIPA is...
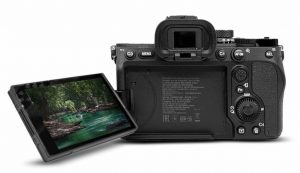
Mirrorless vs dSLR Cameras in poor Light How does a twelve-year-old dSLR compare to the modern crop of mirrorless cameras?...

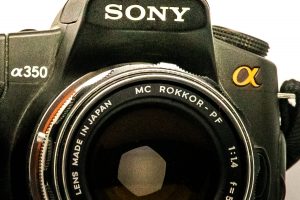
MC Rokkor 58mm f/1.4 Sample Images The following images are representative of the type of photos the MC Rokkor -...
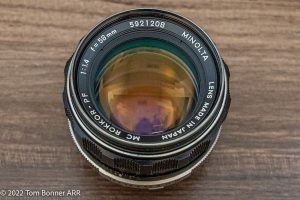
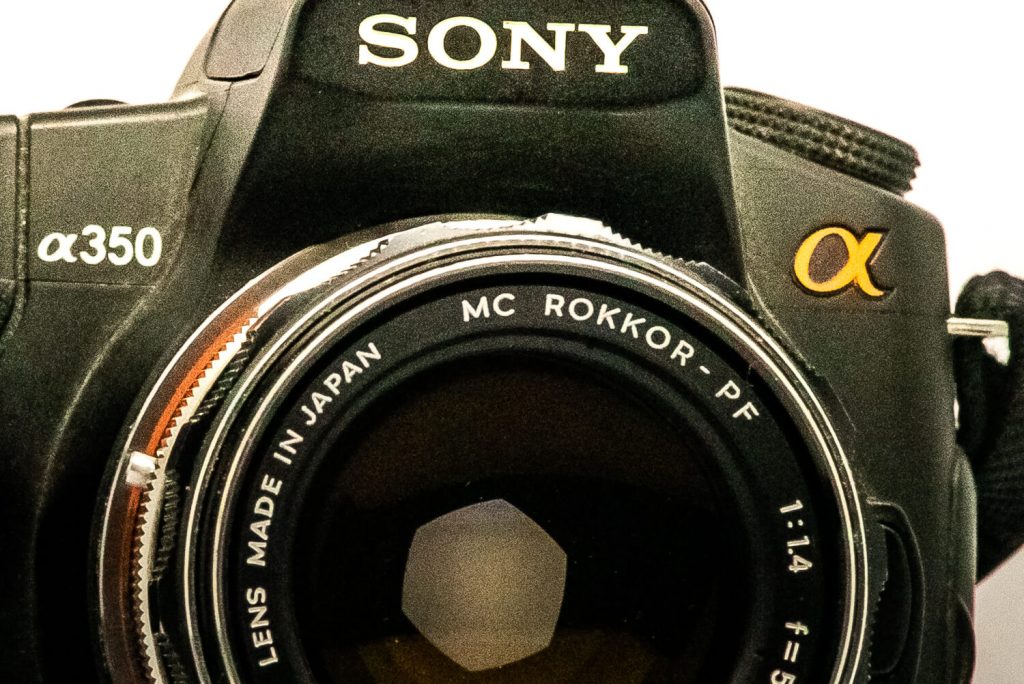
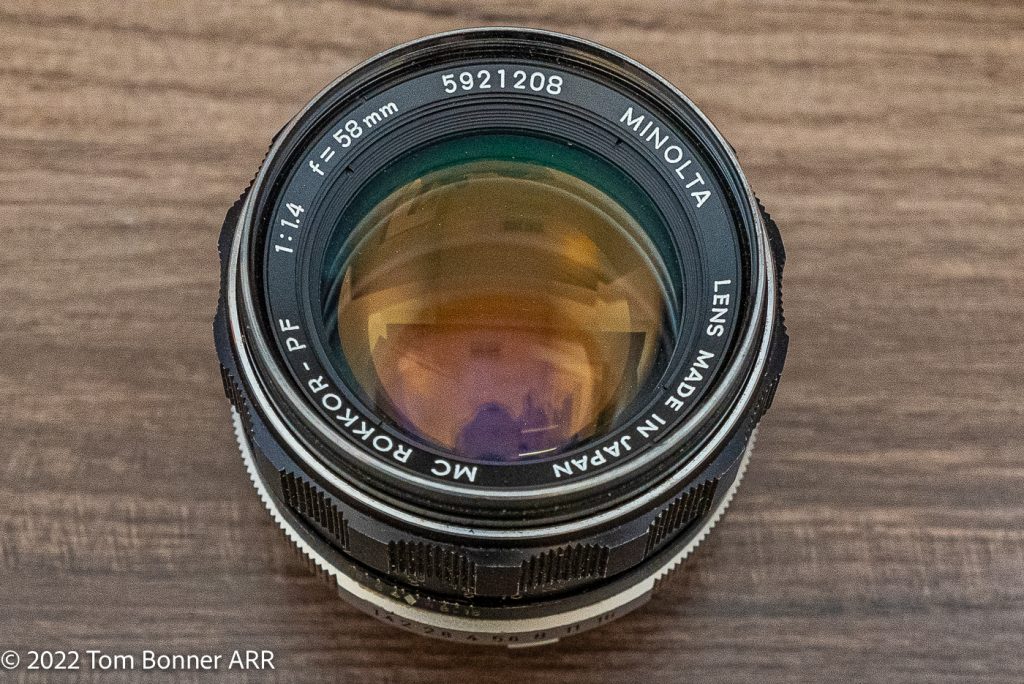
The MC Rokkor - 58mm f/1.4 lens is one of my all-time favorite lenses. It always lives in my camera...
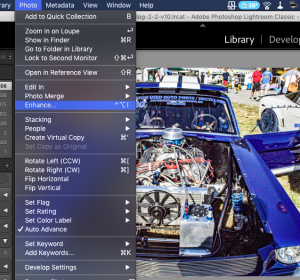
If you haven't used Adobe's brand-new Enhance feature yet, I urge you to give it a try. Available in both...
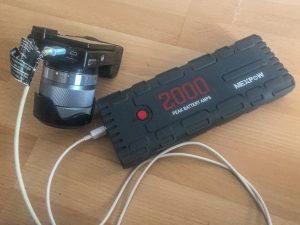
Don't lose a shot, Keep your Sony NP-FW50 batteries topped off, even without an AC outlet. Like Boy Scouts, photographers...
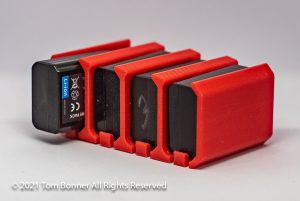
Never worry about your Sony Batteries Again with this Battery Magazine The original design spec for the Sony Mirrorless cameras...
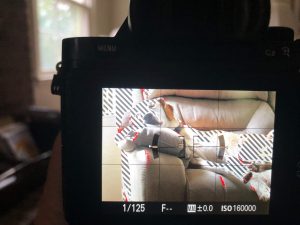
Zebra Patterns: Every Mirrorless Photographer Needs Them. Most Sony Alpha Mirrorlesss Cameras have the option to display Zebra Patterns in...
Save Your Camera! Use a Wrist Strap Vampires, monsters, zombies, dropping your camera. When it comes to horror, watching your...