
Zebra Patterns: Every Mirrorless Photographer Needs Them.
Most Sony Alpha Mirrorlesss Cameras have the option to display Zebra Patterns in the viewfinder and rear LCD panel. And until recently, I ignored this feature.
I first encountered the Zebra option when I rented a Sony A7S about five years ago. I didn’t fully understand their function, and when I inquired about them I was told they were for videographers. At the time I was more concerned with still photos than video, so I didn’t explore the Zebra feature further. Big mistake. Zebras are extremely useful for both still and video shooters.
What are Zebra Patterns?
Essentially, photographic Zebra Patterns alert photographers to clipped highlights in the viewfinder. The camera will display a pattern of black and white stripes over any region in the image that lacks visible detail. Naturally, the Zebra patterns are only displayed in the viewfinder or rear LCD. They do not appear in the final photograph.
Photographers refer to this lack of detail as blown highlights. Despite the advances in software editing applications, no app can restore information that doesn’t exist. If your image lacks critical detail in the highlights, those areas will appear as white or gray blobs. Short of hand painting structure and elements into the highlights, there is little you can do.
Almost all digital cameras offer some form of clipped highlight warning on the rear LCD. While this is better than nothing, many cameras only alert you to a problem after an image is recorded. The classic case of locking the barn after the horses have escaped. If the highlights are blown out, you can adjust your settings and shoot another image. This is appropriate for landscapes, still-life and portraits. It isn’t very practical for action or something unrepeatable.
Typically, the warnings are only on the LCD. If you primarily use the viewfinder, you won’t have access to this information on a dSLR.
Beyond the Histogram
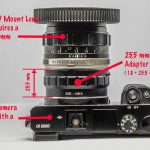
The average dSLR camera is equipped with a mirror and ground glass, which doesn’t offer the opportunity to add information overlays. With the introduction of mirrorless cameras, Sony engineers found they could display much more information to photographers. No longer constrained by the analog limitations of earlier cameras, designers are free to present an array of new tools in the viewfinder. Among these are live histograms and zebra patterns.
I know many photographers who rely on histograms to nail exposure. If this works for you, great. When I am capturing an event, however, I seldom have time to adjust my settings based on the histogram. I need to grab the shot and recompose for the next activity. The pace is such that I am not at liberty to spend time reacting to the histogram.
There is also the issue that most histograms will only signal that there are areas in the photo which lack highlight detail. Histograms won’t tell you which areas in the photo will have clipped highlights.
Enter Zebra Patterns. A quick glance will not only warn about clipping; but will also identify exactly where the clipping is occurring. I find that invaluable.
Sometimes I don’t care if an area of the photo contains blown highlights. An example would be a night scene with bright lights in the background. Other times I don’t mind if clouds lose highlight detail. The important thing is the Zebra stripes show me where any detail will be lost before I make an exposure. I can quickly evaluate the scene and decide if the detail loss is acceptable. If it isn’t I change the exposure, usually by stopping down the lens.
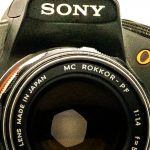
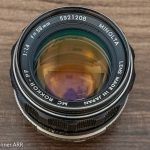
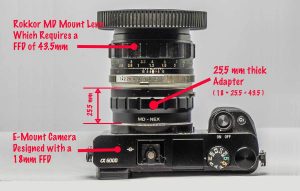
Manual Aperture Rings are an Asset
I shoot primarily with old Rokkor manual focus lenses. If I see Zebras, I can quickly turn the aperture ring (stopping down) until they disappear. Of course, this only works if you are shooting in manual. In any automatic mode, the camera would simply adjust the exposure for the new aperture setting; which so the the highlights would still be down out. In manual mode, however, stopping down the lens reduces the exposure. Shutter speed and ISO won’t change, so you quickly and easily eliminate highlight damage.
If you are using a more modern lens, you’ll have to take time to use your menus to adjust the aperture, shutter speed or ISO. This might take more time than spinning a physical aperture ring, but the results will still yield superior images. If the situation allows, you could also use the exposure compensation dial.
Zebra Patterns Warn of Lack of Detail
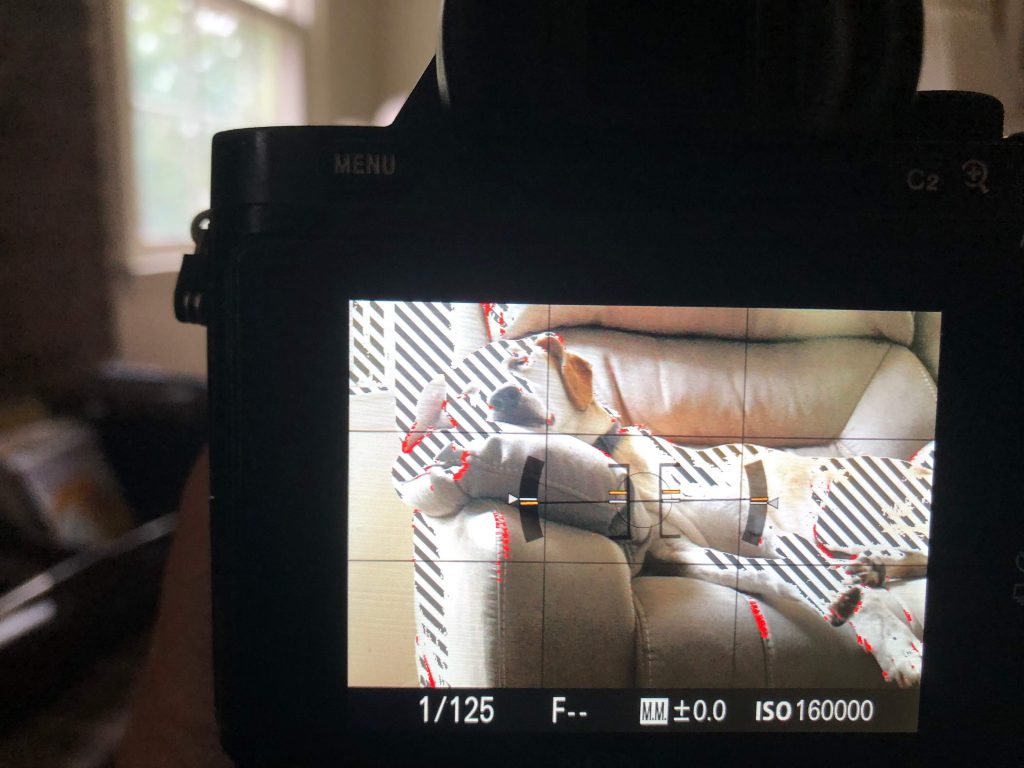
If you examine the dog photo at the top, you’ll notice that his face and much of the chair are covered in Zebra Patterns. That means there is no detail remaining in these areas. Without using the Zebras, I might mistakenly assume there was sufficient information in the highlights. I would shoot the photo expecting post-processing software could restore these areas. When I finally open the shot on my computer I would find the highlights lacked any discernable texture.
Thankfully, the Zebras immediately tell me that the marked areas lack information and unless I change the exposure, no amount of post-processing could save this image.
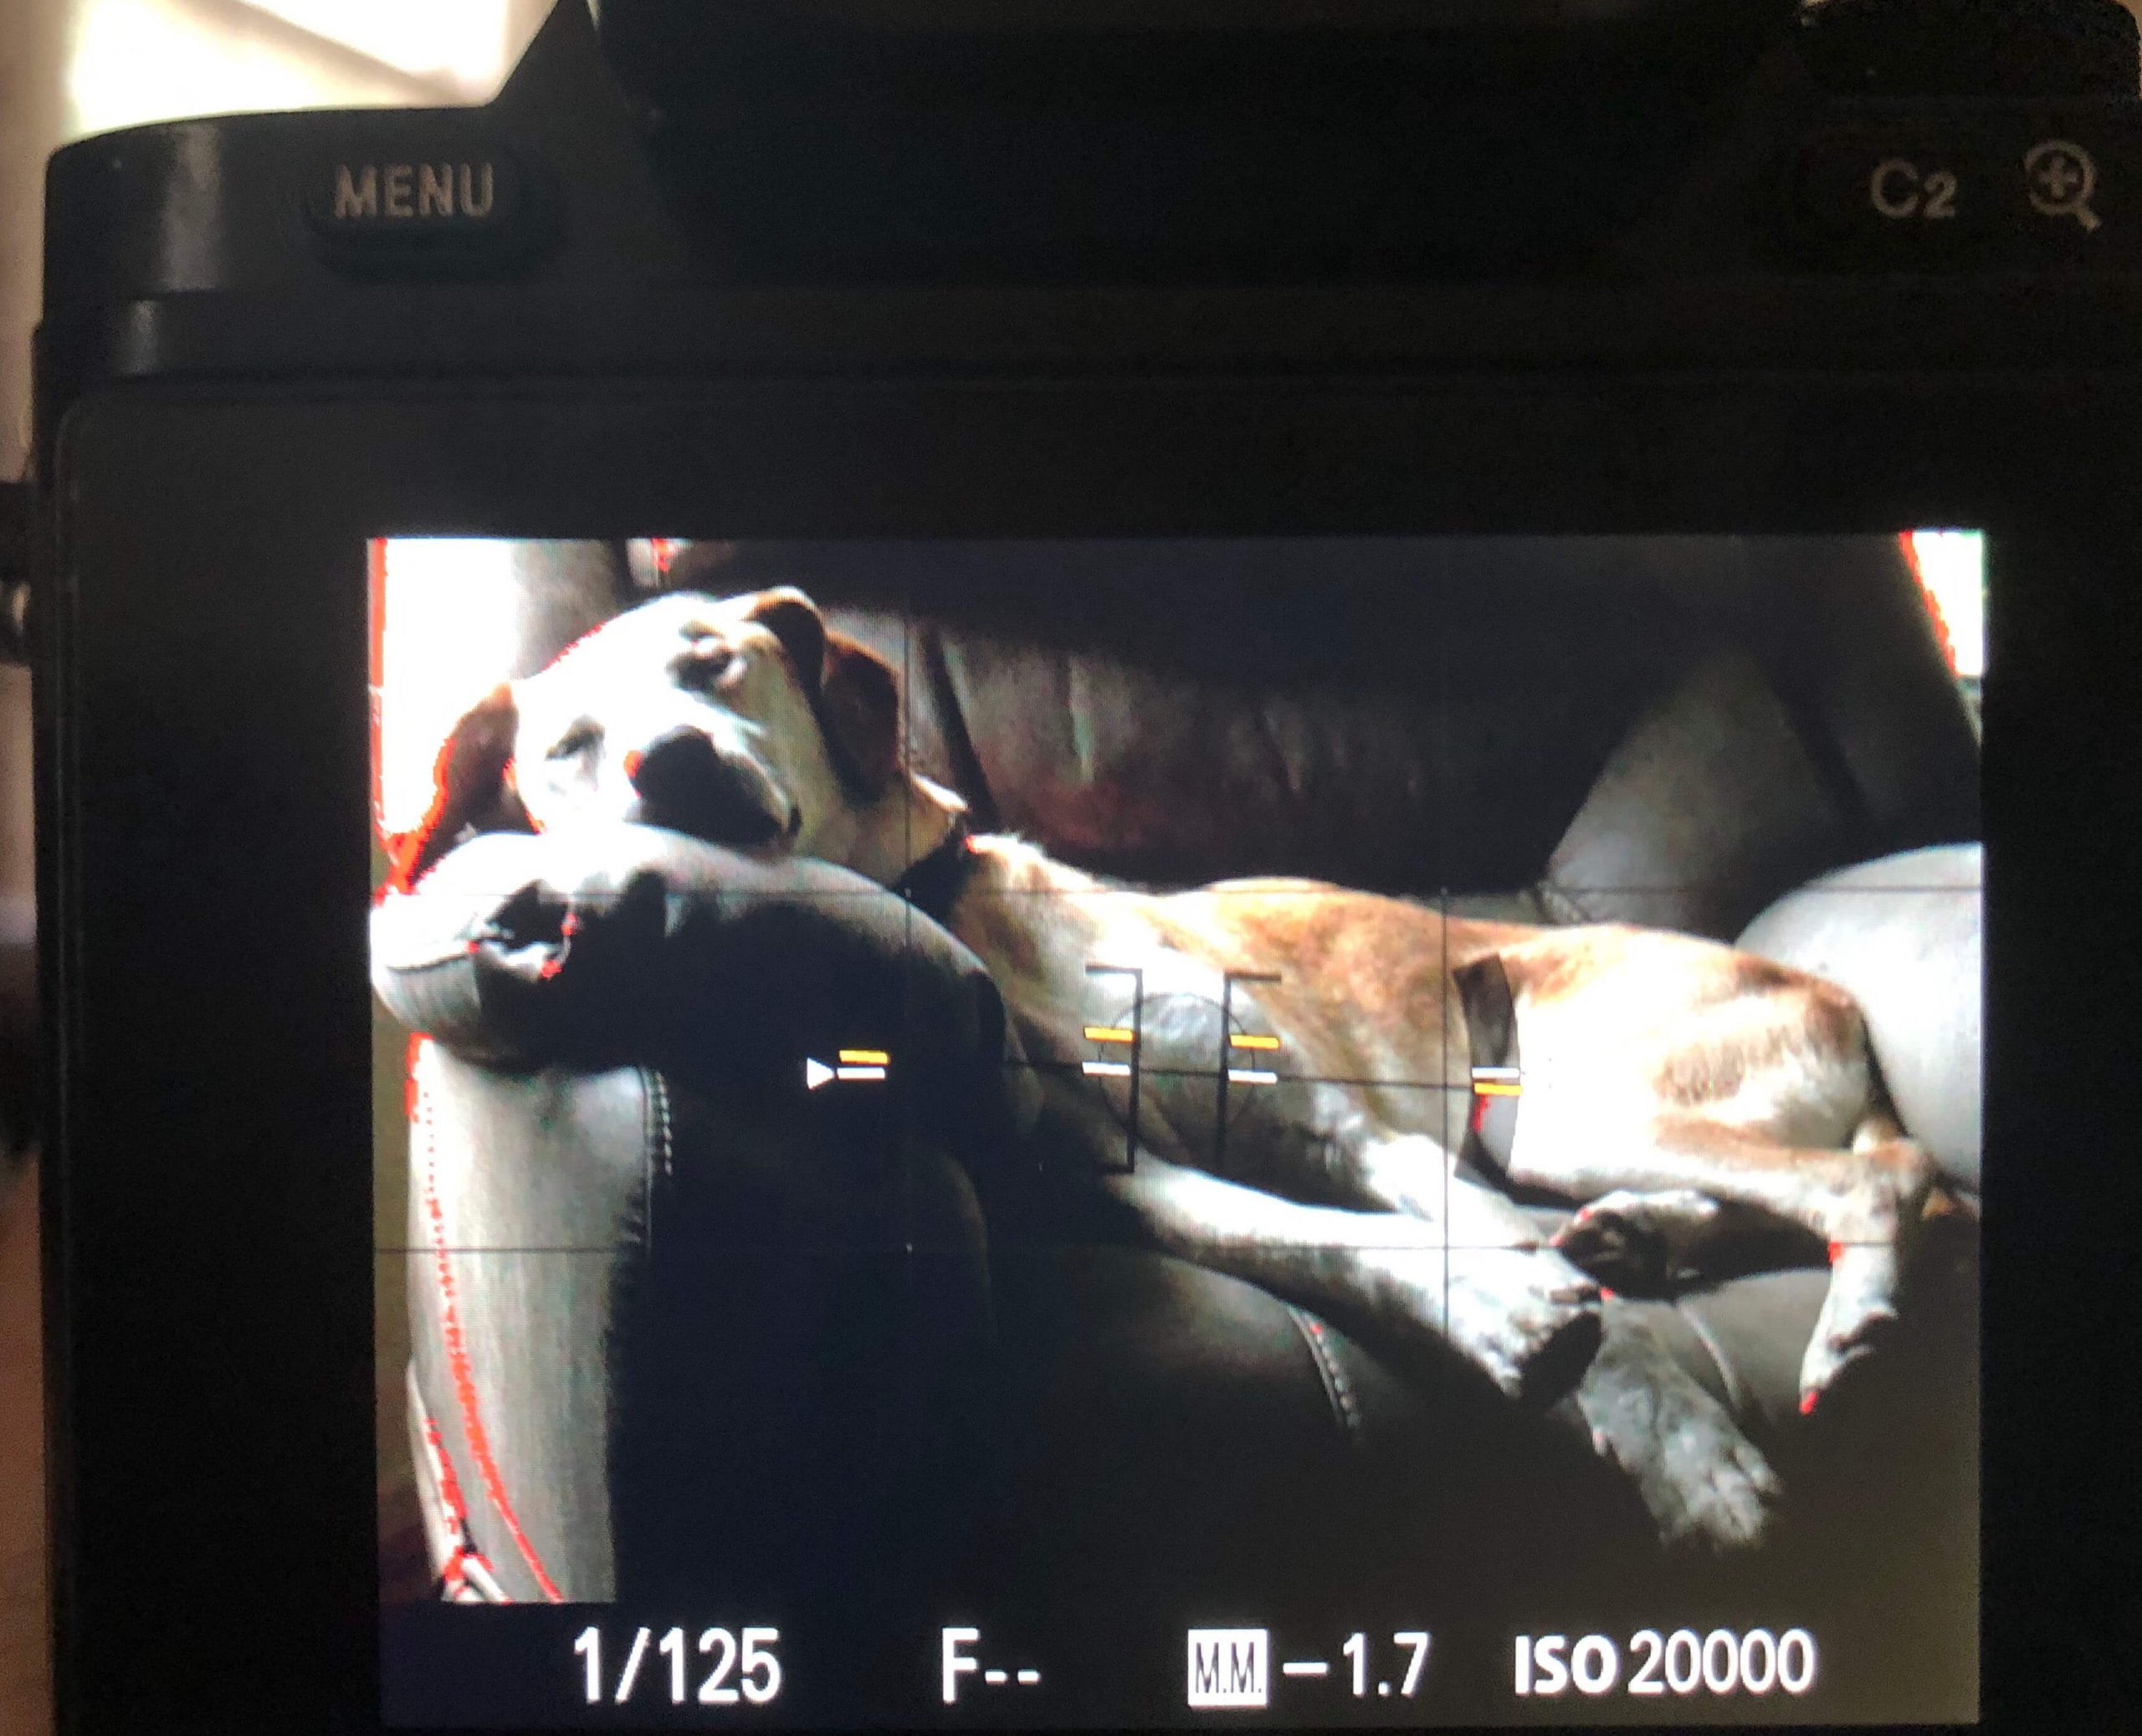
The second photo shows the same scene after I adjusted the aperture to eliminate the Zebras. Now, the dog’s face and fur have detail, but the mid-tones look muddy and the shadows are too dark. But I know I can use a program such as Adobe Lightroom to open up the shadows and create a useable image. We want to preserve the highlights because software can salvage overexposed shadows.
I recently shot a local car show on a very bright sunlit morning. The conditions were ripe for clipped highlights. Take several dozen brilliant, candy-painted vehicles and polish them to the nth degree. Next, arrange these cars at noon on a brilliant sunny day with no clouds or shade. Without careful attention, blown highlights are nearly guaranteed. Maintaining detail in both the highlights and the shadows will stress out the dynamic range of just about any camera.
Assuming you are shooting in RAW, the answer is to set the exposure to maintain detail in the highlights. This is likely to cause the shadow and mid-tone areas to look dark and muddy in the captured image. When you preview your image on the LCD, you may think the photo is seriously overexposed. Thankfully, there are a host of software tools that we can use to open up the shadows and mid-tones and create a great image.
We don’t want the bright areas to be pure white
If I relied on the meter reading to judge the exposure, the highlight areas in the resulting image would be pure white, with no detail. Since I exposed for the highlights, there should be decent detail in these areas. But the shadow areas will appear too dark straight from the camera. I can use software to lighten the shadows and show any information hidden there. The result will be a nicely exposed image that reveals texture in both the highlights and shadows.
You can see a gallery of images from the 2021 Charlie Craig show here. You’ll notice almost all of the highlight areas retain form and framework, while you can still discern character in the shadows.
I couldn’t spend too much time on each vehicle, so the Zebras were a great asset. I composed and focussed, then adjusted the aperture ring until no Zebras were showing. Then I made my shot, which as mentioned above, looked dark and muddy when I reviewed the images on the LCD screen.
Once I brought the images into Lightroom, I quickly adjusted the shadows and mid-tones to look bright and appealing. The highlights were already properly balanced, so I was quite pleased with the final photos.
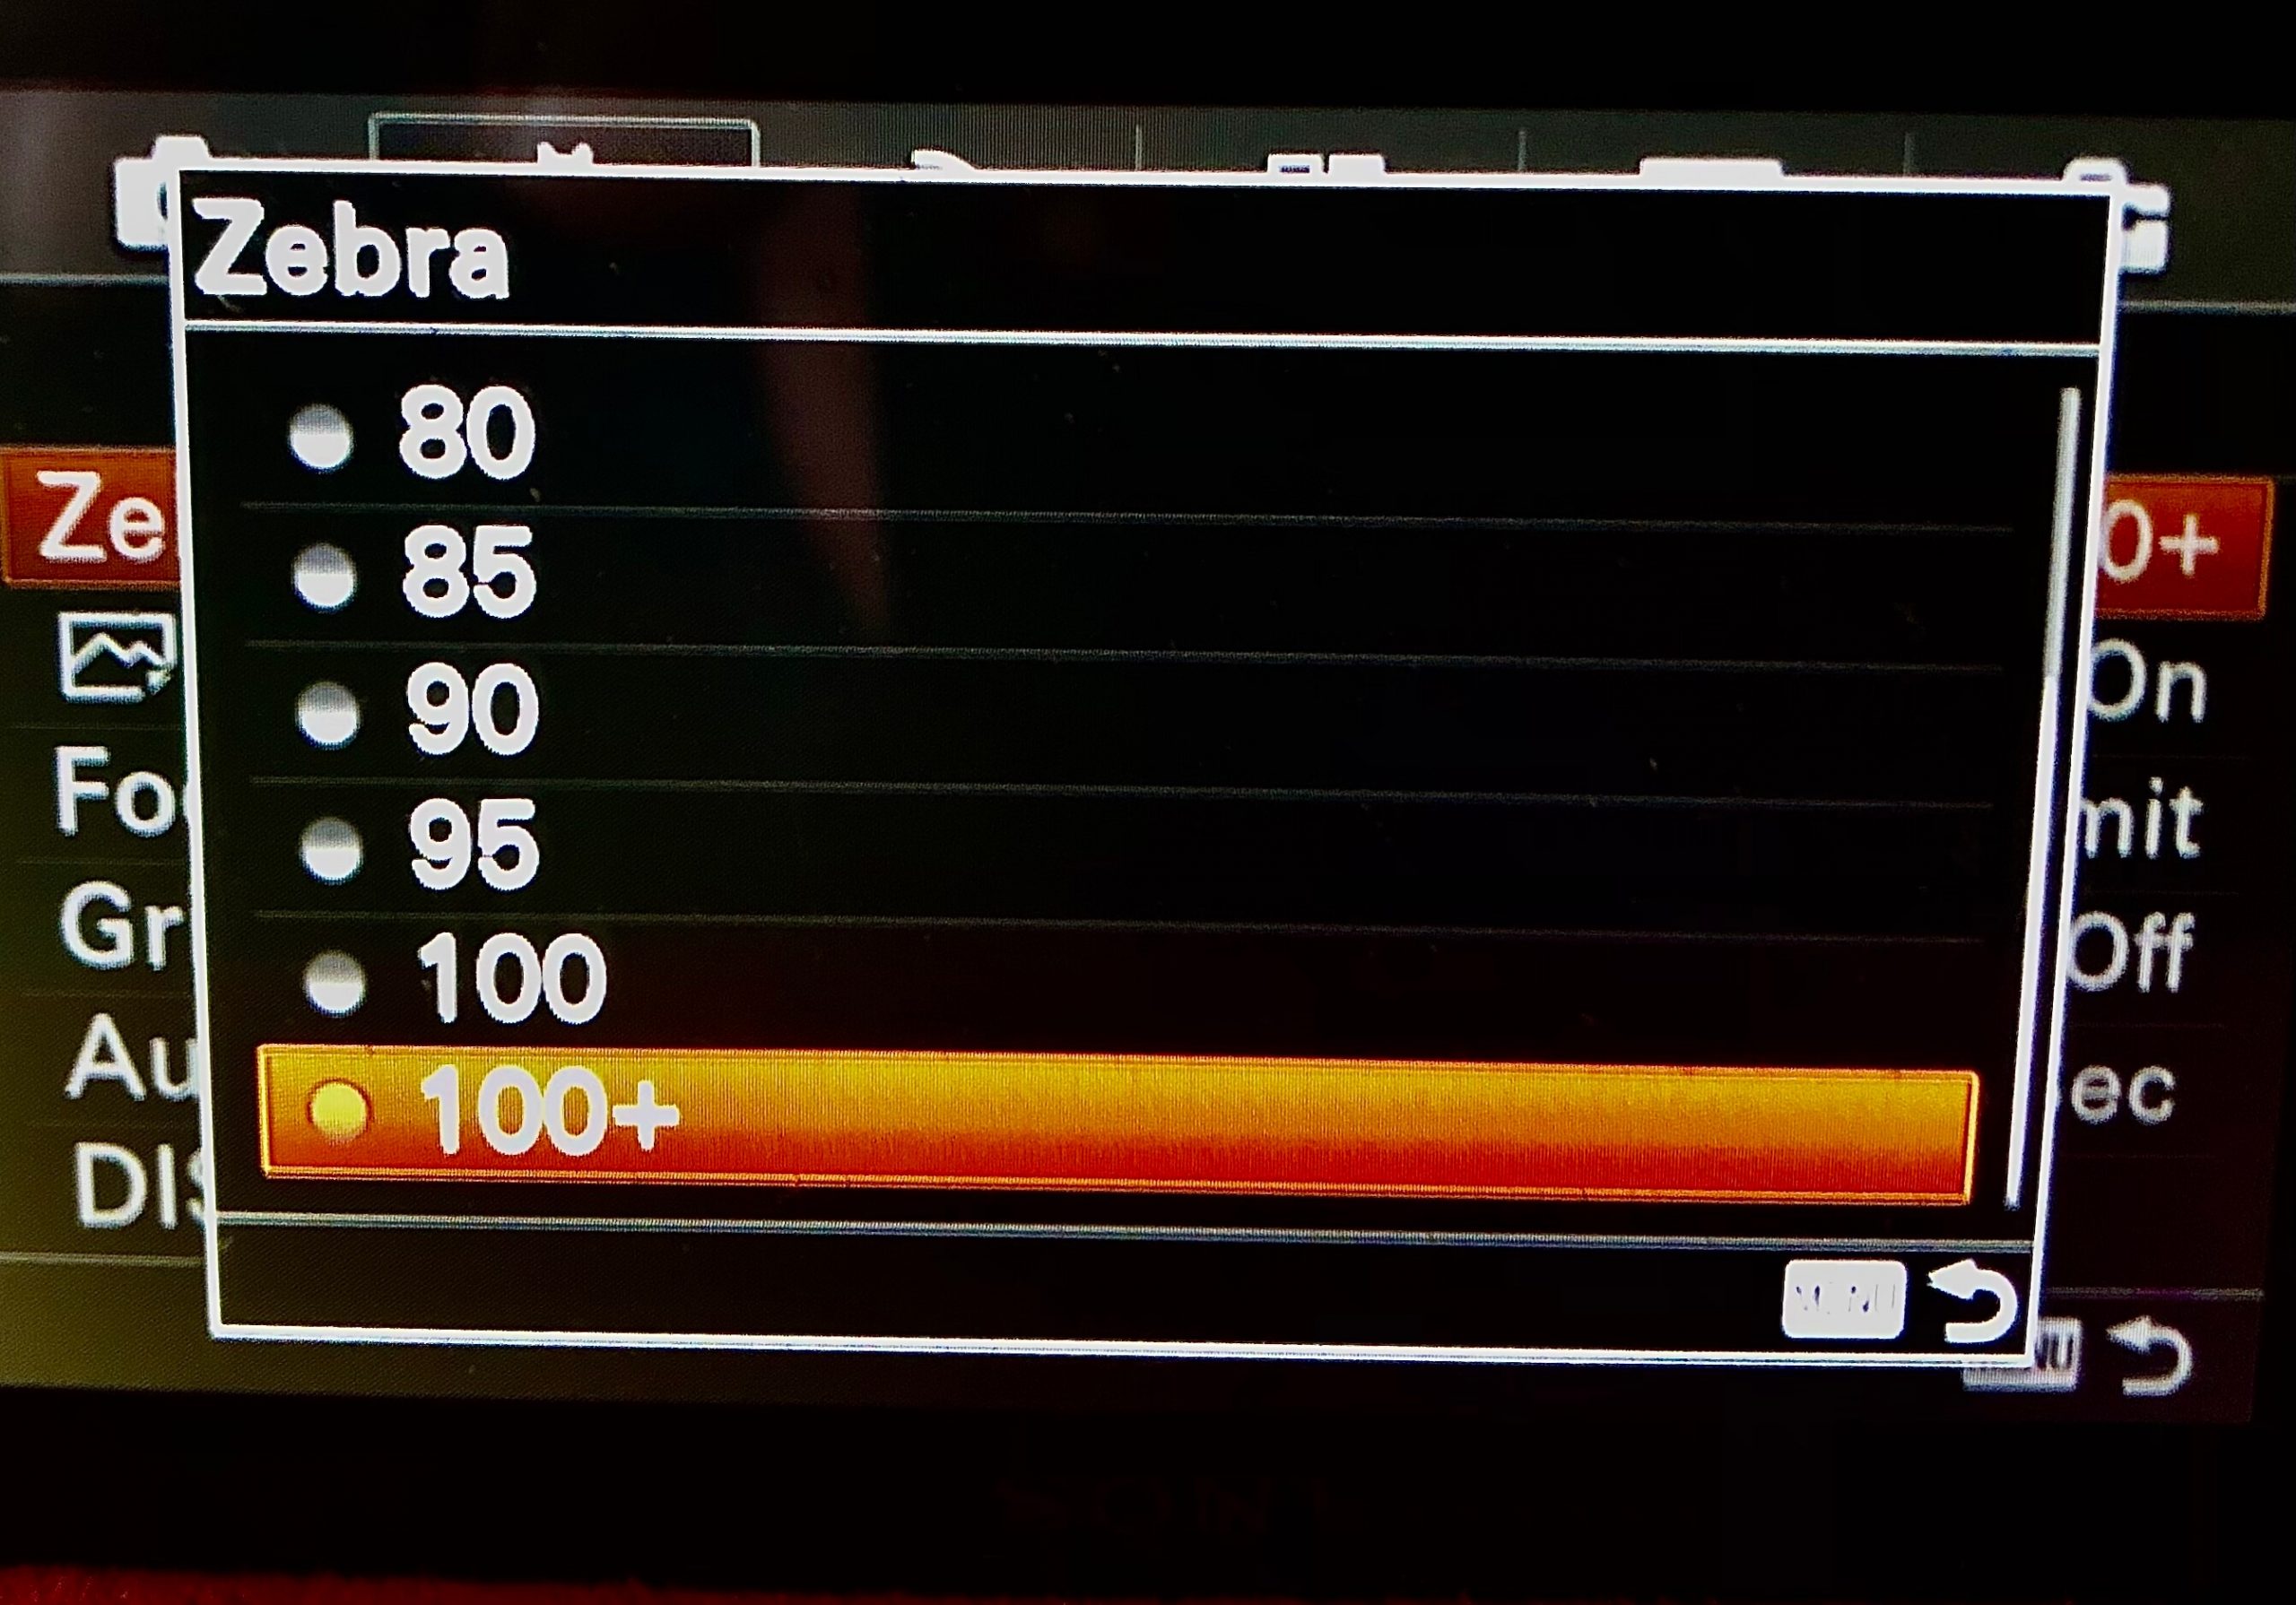
Sony Image Ambassador Mark Galer has an informative Youtube video explaining how he uses Zebra patterns in his work. If you’ve read this far, you”ll want to check out Galer’s Zebra Pattern video. Mr. Galer uses a slightly different approach than I do because he uses more modern lenses and auto exposure. The newer cameras Galer uses also offer more Zebra adjustments. My cameras only offer a high setting of 100+, so that is the setting I use.
I have enabled Zebra patterns on all my Sony Mirrorless cameras. This option is turned off in the default settings. Turning Zebras on is a simple menu option. Some people may find the black and white stripes annoying. For me, when I see Zebra stripes I immediately adjust the exposure so they vanish. So the only time I see Zebras is when something in the image is overexposed. Rather than being an annoyance, they’re a helpful tool to avoid blown highlights.
Since turning on Zebras, I have noticed a strong uptick in the number of “keeper” shots I create. As long as I have access to cameras that offers this feature, I will never shoot without Zebras again. They are that useful.

More Stories
Sony NP-FW50 Batteries: Charge ’em without AC Power
Never worry about your Sony Batteries Again with this Battery Magazine
Save Your Camera! Use a Wrist Strap